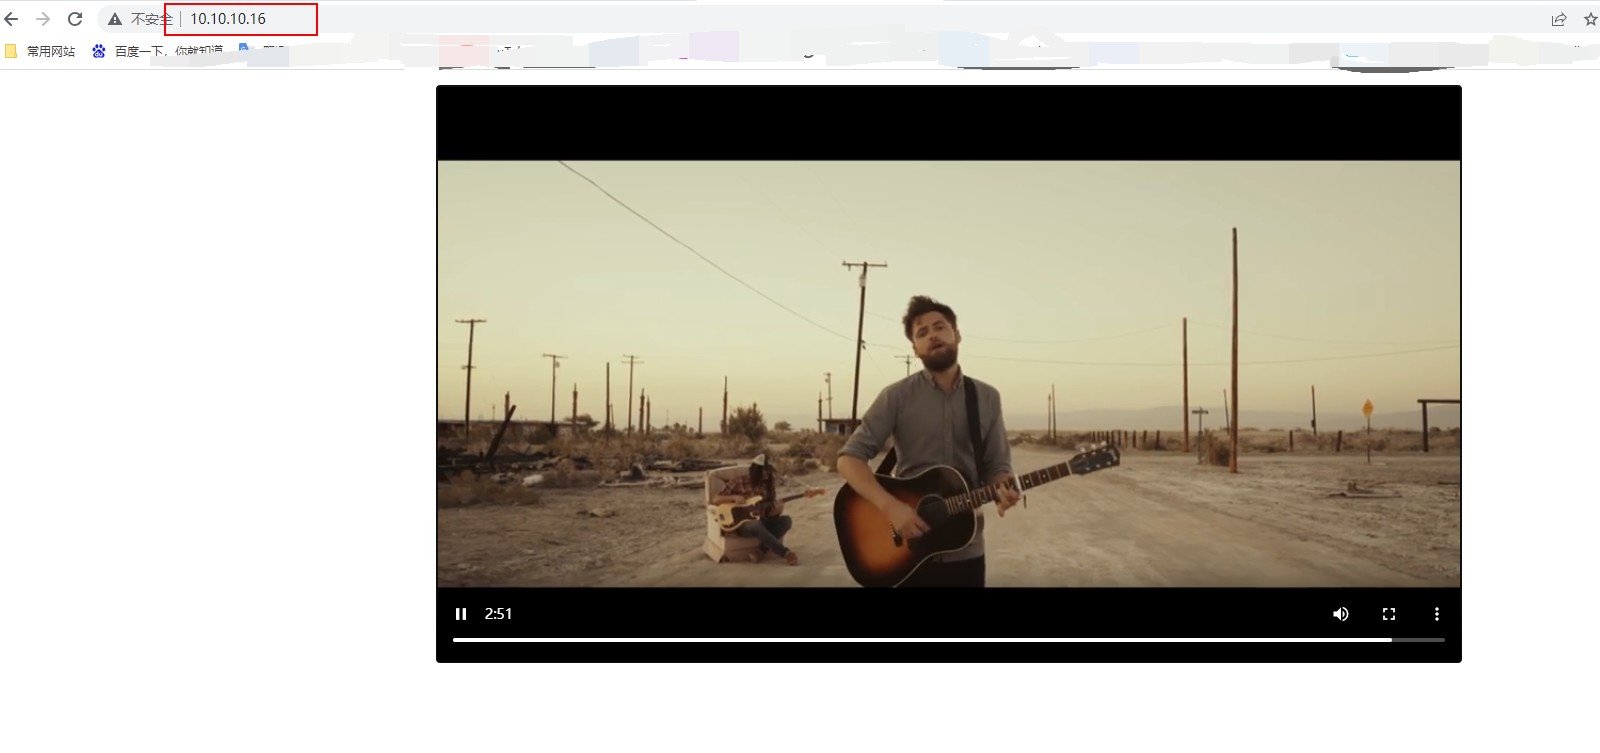
上篇文章实现了在centos7上搭建nginx-rtmp直播服务器,但是http需要调用flash插件才能观看,这次实验将直接实现http播放
下载安装包
下载nginx和nginx-rtmp模块的安装包,由于软件会持续更新的关系需要手动下载最新本版并传输到centos7系统下面
http://nginx.org/en/download.html
https://github.com/winshining/nginx-http-flv-module
安装开发工具
新建ffmpeg的yum源
rpm --import
rpm -Uvh http://li.nux.ro/download/nux/dextop/el7/x86_64/nux-dextop-release-0-1.el7.nux.noarch.rpm
yum install -y gcc make zlib-devel pcre-devel openssl-devel
安装编译时添加模块所需的库支持。
yum install -y ffmpeg ffmpeg-devel
yum install -y libmp4v2 libmp4v2-devel
mkdir rtmp
我已经将安装包下载到电脑了
[root@localhost rtmp]# ls
Hotel-California_高清.mp4    nginx-1.25.1.tar.gz  nginx-http-flv-module
编译安装nginx
tar -xvf nginx-1.25.1.tar.gz
unzip nginx-http-flv-module-master.zip
cd nginx-1.25.1
./configure --prefix=/root/rtmp/nginx  --add-module=/root/rtmp/nginx-http-flv-module
make -j4
make install
编译安装完成之后rtmp目录下多了个nginx目录,指定--prefix=是为了安装的软件配置文件不要太分散,卸载nginx的时候把nginx目录直接删掉就好了
[root@localhost nginx-1.25.1]# cd ..
[root@localhost rtmp]# ls
Hotel-California_高清.mp4  nginx  nginx-1.25.1  nginx-1.25.1.tar.gz  nginx-http-flv-module
[root@localhost rtmp]# nginx/sbin/nginx -v
nginx version: nginx/1.25.1
可以看到已经显示版本号了,我这个是目前官网最新的nginx版本。创建个链接到免得每次都要加路径
ln -s /root/rtmp/nginx/sbin/nginx /usr/local/sbin/
编辑nginx配置文件,这里我为了精简配置把没用的都删掉了,配置里定义了html目录的路径为/opt/nginx/html
[root@localhost rtmp]# cat /root/rtmp/nginx/conf/nginx.conf
worker_processes  auto;
events {
    worker_connections  1024;
}
#新增配置开始
rtmp {
    server {
        listen 1935;
        chunk_size 4096;
        application live {
        live on;
record off;
gop_cache off;
}
    }
}
#新增配置结束
http {
    include       mime.types;
    default_type  application/octet-stream;
    sendfile        on;
    keepalive_timeout  65;
    server {
        listen       80;
        server_name  localhost;
#新增配置开始
root    /opt/nginx/html;
index index.html index.htm;
        location /live {
        chunked_transfer_encoding on; #支持 'Transfer-Encoding: chunked' 方式回复
add_header 'Access-Control-Allow-Origin' '*';
        add_header 'Cache-Control' 'no-cache';
flv_live on;
        }
#新增配置结束
        error_page   500 502 503 504  /50x.html;
        location = /50x.html {
            root   html;
        }
    }
    }
启动nginx,已经启动了就nginx -s reload
nginx -t
nginx
网页端配置
需要两个文件:
1、flv.js文件,github上有,据说是B站开发的
2、html文件,来源于具有开源精神的某热心网友的分享
这两个文件都要放到nginx root目录下,我在配置文件定义了/opt/nginx/html为root目录,我直接放上来,在上面点击右键,链接另存为就可以下载
mkdir -p /opt/nginx/html
mkdir /opt/nginx/html/js
mv flv.js js
[root@localhost rtmp]# cat /opt/nginx/html/index.html
<!DOCTYPE html>
<html>

<head>
  <title>LiveTest</title>
  <meta content="text/html; charset=utf-8" http-equiv="Content-Type">
    <title>flv.js demo</title>
    <style>
        .mainContainer {
            display: block;
            width: 1024px;
            margin-left: auto;
            margin-right: auto;
        }

        .urlInput {
            display: block;
            width: 100%;
            margin-left: auto;
            margin-right: auto;
            margin-top: 8px;
            margin-bottom: 8px;
        }

        .centeredVideo {
            display: block;
            width: 100%;
            height: 576px;
            margin-left: auto;
            margin-right: auto;
            margin-bottom: auto;
        }

        .controls {
            display: block;
            width: 100%;
            text-align: center;
            margin-left: auto;
            margin-right: auto;
        }
    </style>
</head>

<body>

<p class="mainContainer">
    <video name="videoElement" id="videoElement" class="centeredVideo" controls muted autoplay width="1024"
           height="576">
        Your browser is too old which doesn't support HTML5 video.
    </video>
</p>

<script src="js/flv.min.js"></script>

<script>

    function start() {
        if (flvjs.isSupported()) {
            var videoElement = document.getElementById('videoElement');
            var flvPlayer = flvjs.createPlayer({
                type: 'flv',
                url: 'http://10.10.10.16/live?port=1935&app=live&stream=zz'
            });
            flvPlayer.attachMediaElement(videoElement);
            flvPlayer.load();
            flvPlayer.play();
        }
    }

    document.addEventListener('DOMContentLoaded', function () {
        start();
    });
</script>

</body>

</html>
值得注意的是
1、这个flv.js文件必须放进js目录中,而不是和index.html文件在同一目录,否则浏览器将只有截图没有视频流出现。
2、上面html代码里的url: 'http://10.10.10.16/live?port=1935&app=live&stream=zz'地址就是网页端拉流地址(可以复制到VLC打开网络串流播放),如果你全程复制我的配置文件就只需要改个你自己的IP地址就好了。
[root@localhost html]# ls
index.html   js
推流
可以用推流工具比如OBS,也可以直接用ffmpeg推流
ffmpeg -re -i Hotel-California_高清.mp4 -c copy -f flv "rtmp://localhost/live/zz"
上面的live是nginx配置下的live,zz是相当于房间号,随便写什么数字字母都可以。
http拉流
Windwos电脑端打开谷歌浏览器输入你的centos7的IP地址,回车就可以了,我的如下:


发表评论